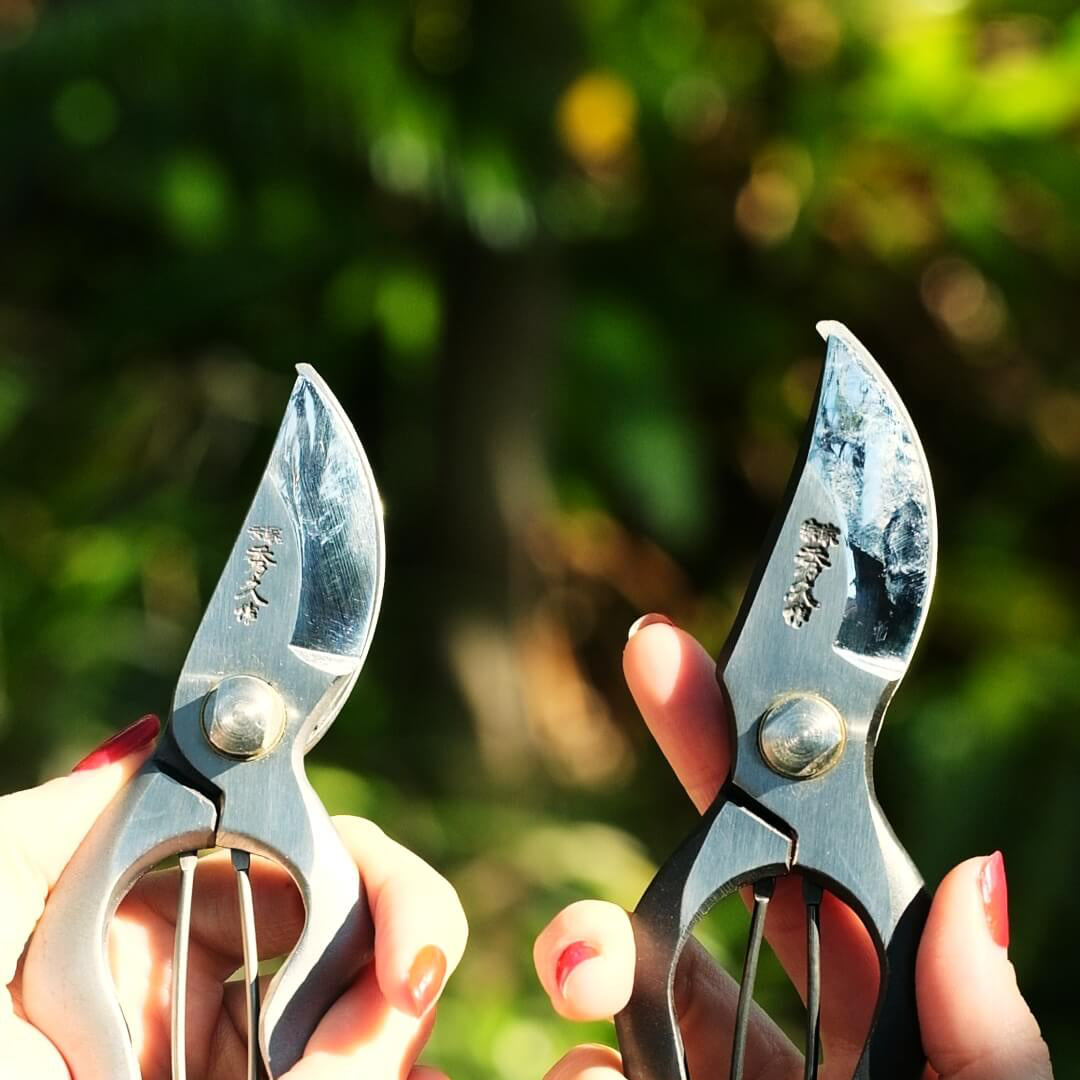
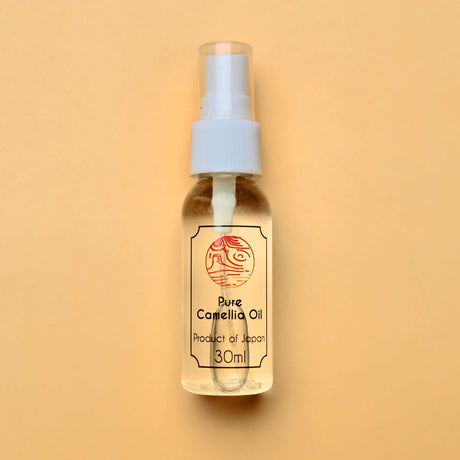
This article attempts to address three issues gardeners struggle with when using secateurs;
- How to keep them clean to avoid rust
- How to remove rust once it has set in
- How to resharpen an edge once it has been lost.
Each section incorporates a quick video on how we resolve these issues, and although most of the techniques featured involve an item from our range, there are many other household alternatives to try that you may already have on hand and we have pointed them out where possible.
If you have any questions that aren't answered below, feel free to jump into the site's live chat - even if we aren't online, we'll receive your inquiry via email and get back to you as fast as we can. There are no silly questions, so fire away!
A Stitch in Time
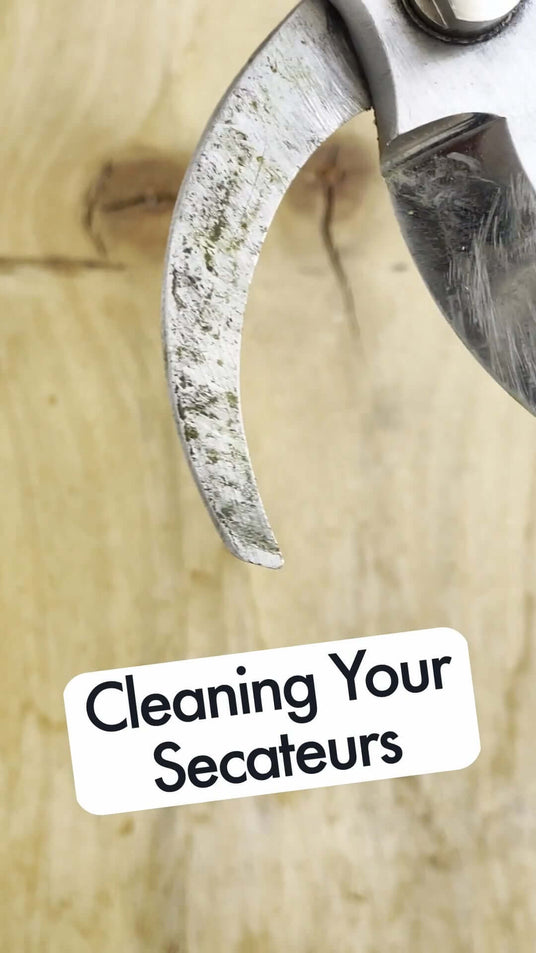
Keeping your secateurs clean is is the easiest way to ensure that you secateurs never rust or gunk up, and is far quicker and easier to do than de-rusting or repairing a damaged pair.
After a good session in the garden, clean the blades of your seccies and dry them well.
Hot soapy water works well for this, as once you are done washing them, your secateurs can heat up enough to evaporate the remaining water and are effectively self-drying!
Many household solvents can also do the job - methylated spirits and eucalyptus oil are effective and often close to hand. Acetone also works, but is harsher - we are thinking of your hands here, the tools don't care :-)
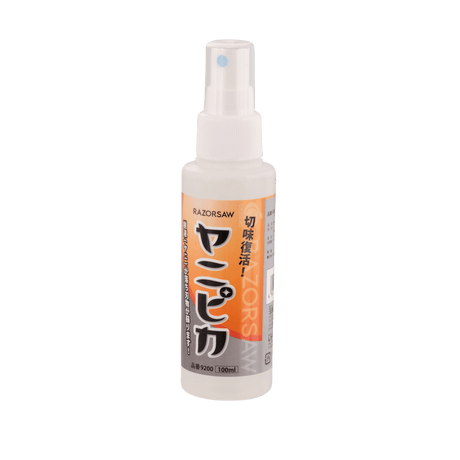
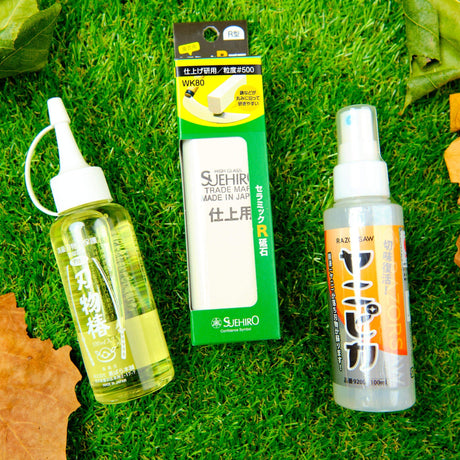
In the video below we clean off our used secateurs with our Yanpika cleaner. Just spray the tool, leave them for a minute and wipe off the crud. Easy!
Rust, Begone!
Rust is a pernicious, cunning and ruthless enemy - as tool lovers, we are always trying to find ways to fight back.
To reinforce our above point about cleaning, rust is caused by moisture sitting in contact with steel.
Unfortunately, tree sap and other organic matter that sticks to your secateurs not only retains moisture, but holds it in firm contact with the tool. This makes rust an inevitability on unclean tools.
The other implication is that, because rust eats into steel, although we can remove the rust itself, we can't remove the corrosion that it causes. Rust leaves behind holes and voids. Don't drive yourself crazy trying to get these back to a factory finish, unless you have some pretty serious machinery and a very deft hand.
So, what can we do? Well, two things. We can remove the rust chemically, or we can remove the rust mechanically. Ideally, we can do both, and we have broken out small summaries of each method we have experience of below.
We are ignoring here the possibility of using drill-, dremel-, or grinder-mounted wire wheels and abrasive pads, as any interaction of these aggressive methods with the cutting edge can easily create far more work than they save.
Rust Removal Methods
Chemical Removal Options
White Vinegar
White Vinegar
You probably have an effective rust remover in your house in the form of white vinegar (cleaning vinegar is the same thing). Put your tool in an old bit of tupperware, pour over the vinegar, and check it in 15-30 minutes. Scrub it with a brush or steel wool, and if there is more to go, resubmerge and repeat.
Different steels respond in different ways - so don't take for granted that all your tools will need the same amount of time.
It is important to check your tool regularly, as leaving it in acid for extended periods (such as overnight) can cause the surface of the steel to be etched black. While this can be repaired with steel wool, it adds another step to the process.
After removing the tool from the vinegar, submerging it in a bath of water mixed with bicarb soda will neutralise the acid.
It is worth noting that diluted solutions of other acids (such as phosphoric or acetic acid) will also remove rust - and probably much quicker than vinegar. However, they become more difficult to safely work with.
Rust Converters
Rust Converters
Commercial rust converters vary in their chemical makeup, and generally aim to convert the iron oxide (rust) to a black oxide that is inert and can't harm the tool further.
They often incorporate other polymers that then dry on the surface of the tool to form a protective layer.
This changes the finish of the tool, and if you wish to restore the steel back to bare metal, will need to be removed by mechanical means.
This property also makes rust converters hard to use on the flat backs of secateurs, as it can add thickness that prevents the blade and the anvil from sliding over each other.
Rust converters can be useful in removing the last bit of rust after mechanical removal or electrolysis. If you are determined to use one, try it in an area away from the blade edges first to see how it responds.
De-Corroder
De-Corroder
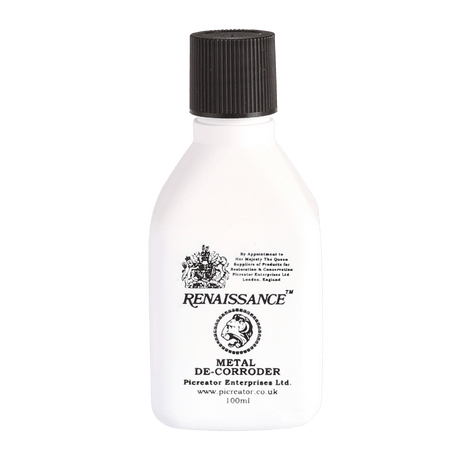
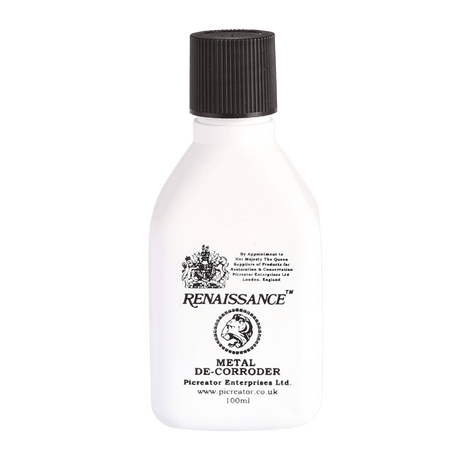
Having tried different combinations of the above chemical methods, we eventually got a hold of the Renaissance brand De-Corroder as we had good experiences with their wax.
This chemical acts like an acid rather than a converter, in that it does not create a new surface layer as it reacts with the rust.
However, we find it more controllable than acids as it is much slower to oxidise the steel and turn it black.
The De-Corroder is designed for use in museum conservation settings, and it can be sped up or slowed down by heating or cooling the solution.
Although the bottle instructions suggest that you submerge your tool in the decorroder, this would require a very expensive amount of it. We prefer to cover the surface of the tool, and then reapply regularly by scrubbing the solution back on with a toothbrush.
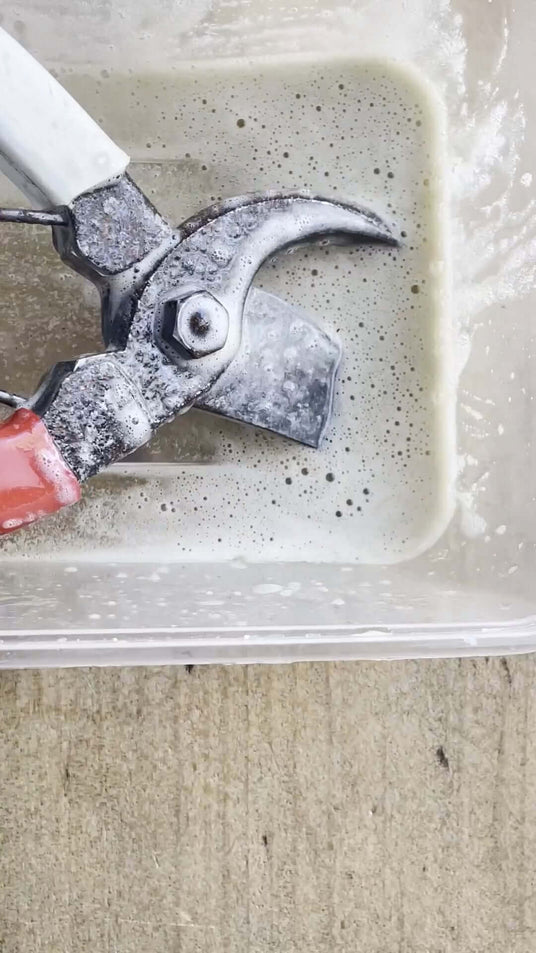
Wash off with hot water and detergent and you're most of the way there - have a look at the video below to see Mitch use the decorroder to clean up a rusty pair of seccies over a period of about an hour.
Mechanical Removal Options
Steel Wool + Scotchbrite
Steel Wool + Scotchbrite
Trusty, dependable and a known quantity. These simple materials can get your tool a long way to rust free with a bit of time and elbow grease.
Scotchbrite is generally quite coarse - keep it away from your cutting edges and the flat backs.
When using steel wool, you can consider using a few grits, but the 0000 fine grade is a good choice that will remove rust without digging too much into the steel of your tool.
For the most thorough results, you can use these with a bit of vinegar for a chemical and mechanical removal that is comprehensive and effective.
Rubber-borne Abrasives
Rubber-borne Abrasives
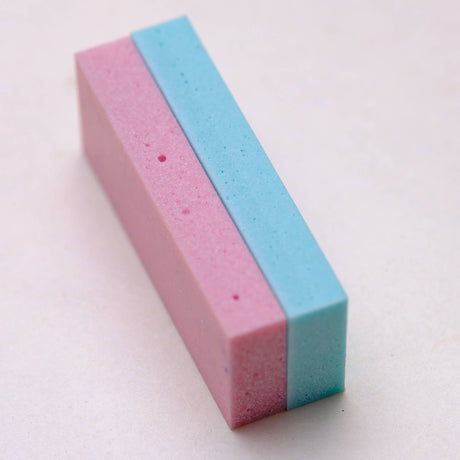
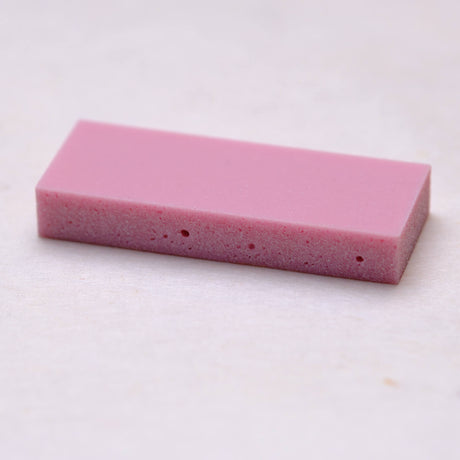
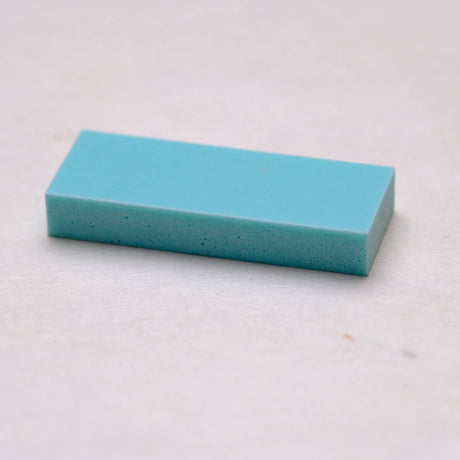
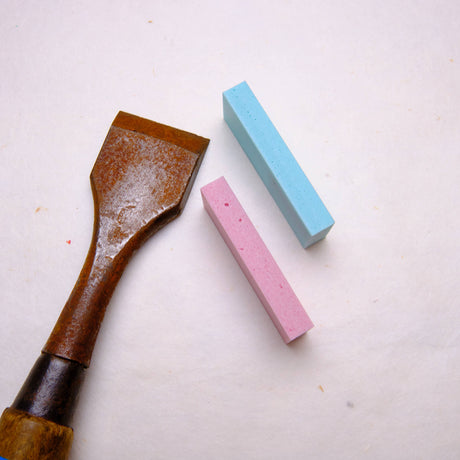
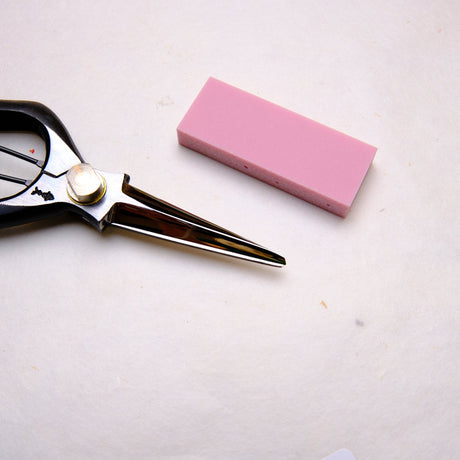
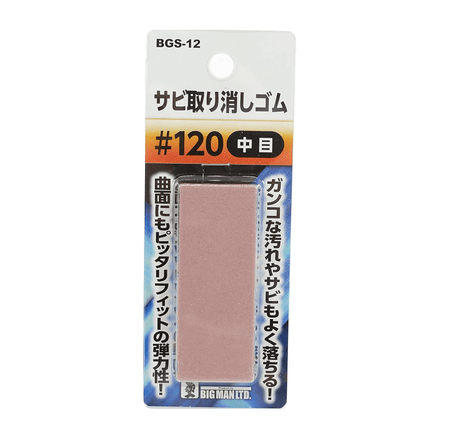
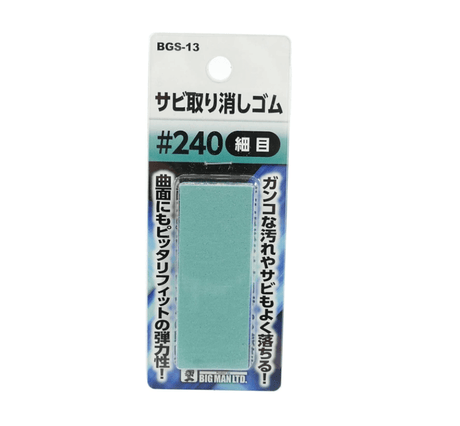
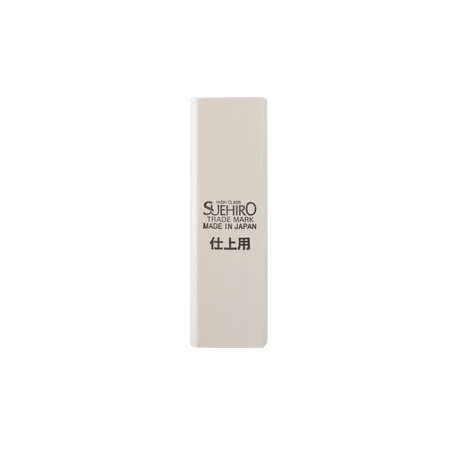
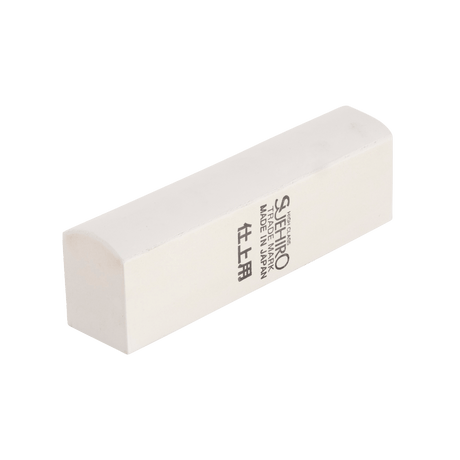
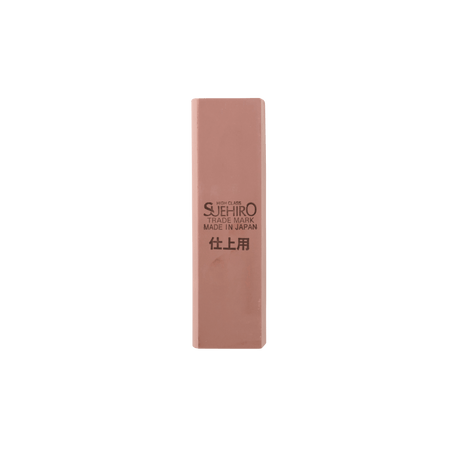
These little guys are simple to use and easy to handle. They look and feel like your old school-room eraser, but incorporate abrasive particles.
This means they wear away as they work, which keeps their cutting ability consistent and fresh.
Although they are quite new to us, we have found them a great alternative to other abrasives in all tool-restoring applications so far.
We currently stock these in a #120 or #240 grit option. If you only end up owning one, the #120 is ally you are looking for in the fight against rust.
In the video below we used the #120 on our gnarly pair of secateurs after giving it a good hit of decorroder. A couple of minutes with the rubber had it looking pretty good - job done!
Electrolysis
Electrolysis
We mention this here because we have enjoyed playing around with electrolysis recently - there is something about mucking around with electricity and water that feels so wrong, and yet it is so effective.
Electrolysis acts like a reverse electro-plating process, using an electrical current to peel the rust particles off your tool and deposit them on a sacrificial electrode.
If you have a lot of tools that need de-rusting, or some particularly large ones, the sheer speed of this process makes it incredibly handy. However, it is a lot of mucking about in order to repair one pair of secateurs. Fun, but involved.
Resurrecting a Murdered Tool
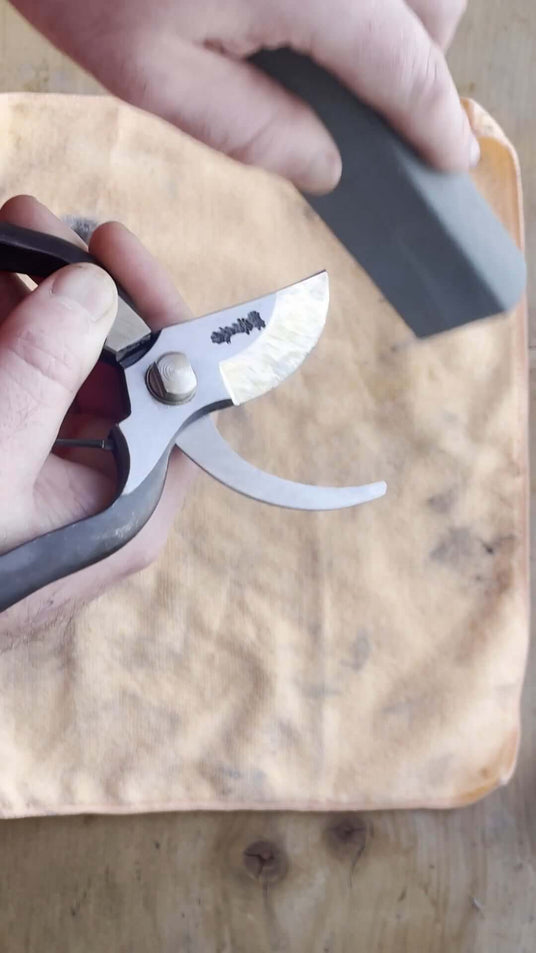
How offensively can you use a hand-crafted pair of secateurs? In the following video you will see crimes committed against tool-kind, as Mitch crunches through bamboo with a lovely pair of laminated high carbon steel edges.
Despite the horrendous abuse that these secateurs suffer, the high quality of their edge means that they are not only remediable, but can be made to perform just as well as the day they left the factory.
If you need to perform similar feats of resuscitation, there are a few points to bear in mind:
- We don't dismantle our secateurs for any maintenance process unless absolutely necessary. Mostly, the important jobs can be done with the pivot bolt in place, and it can be difficult to re-tension them nicely after pulling them apart.
- The two flat surfaces of your secateurs hold the key to good performance. The anvil (the smaller or lower jaw) holds the branch in place while the blade cuts it. The anvil needs to have a flat, smooth back, which it already should have from the factory. Beyond that, leave it alone.
- The flat back of the larger blade should also be treated with kid gloves. This back face comes from the factory with a tiny (tiny) microbevel. It looks like a hairline along the edge, and can be seen only at specific angles when it reflects light. Unless your secateurs have been chipped or extremely damaged (such as in the video), you should not need to do anything to this microbevel. If your repair job is an extreme one, only use your finest stone to work on it - and even then, tread lightly.
- The large bevelled face of the blade is the area to focus your attention on. In most cases, the large slope that makes the bevel isn't actually the angle of the cutting edge. The cutting edge angle is usually very slightly higher than the main bevel, and requires a higher angle from your sharpening stone to match it. Observe your blade as closely as you can, both before and during sharpening.
- In this video we use three different grits to restore a damaged edge. Usually we would only use the fine grit (#1000) on secateurs.
- If you are unsure of where you are sharpening, cover the area close to your edge with black texta and try again. The contact points where you have sharpened your tool will show up a bright silver on the black background. This removes a lot of guesswork.
- Take it easy, be patient. Better to sneak up on a good result than to rush a bad one.
Questions? Not sure? We're here to help.
Sharpening is the area of our work that we field the most questions on. Although it can appear daunting, the learning curve is usually a fast one.
After reading through the above and having a squizz at the videos, feel free to pop any questions into the live chat below and we will get back to them as soon as we can!
Best,
The JTA Team

