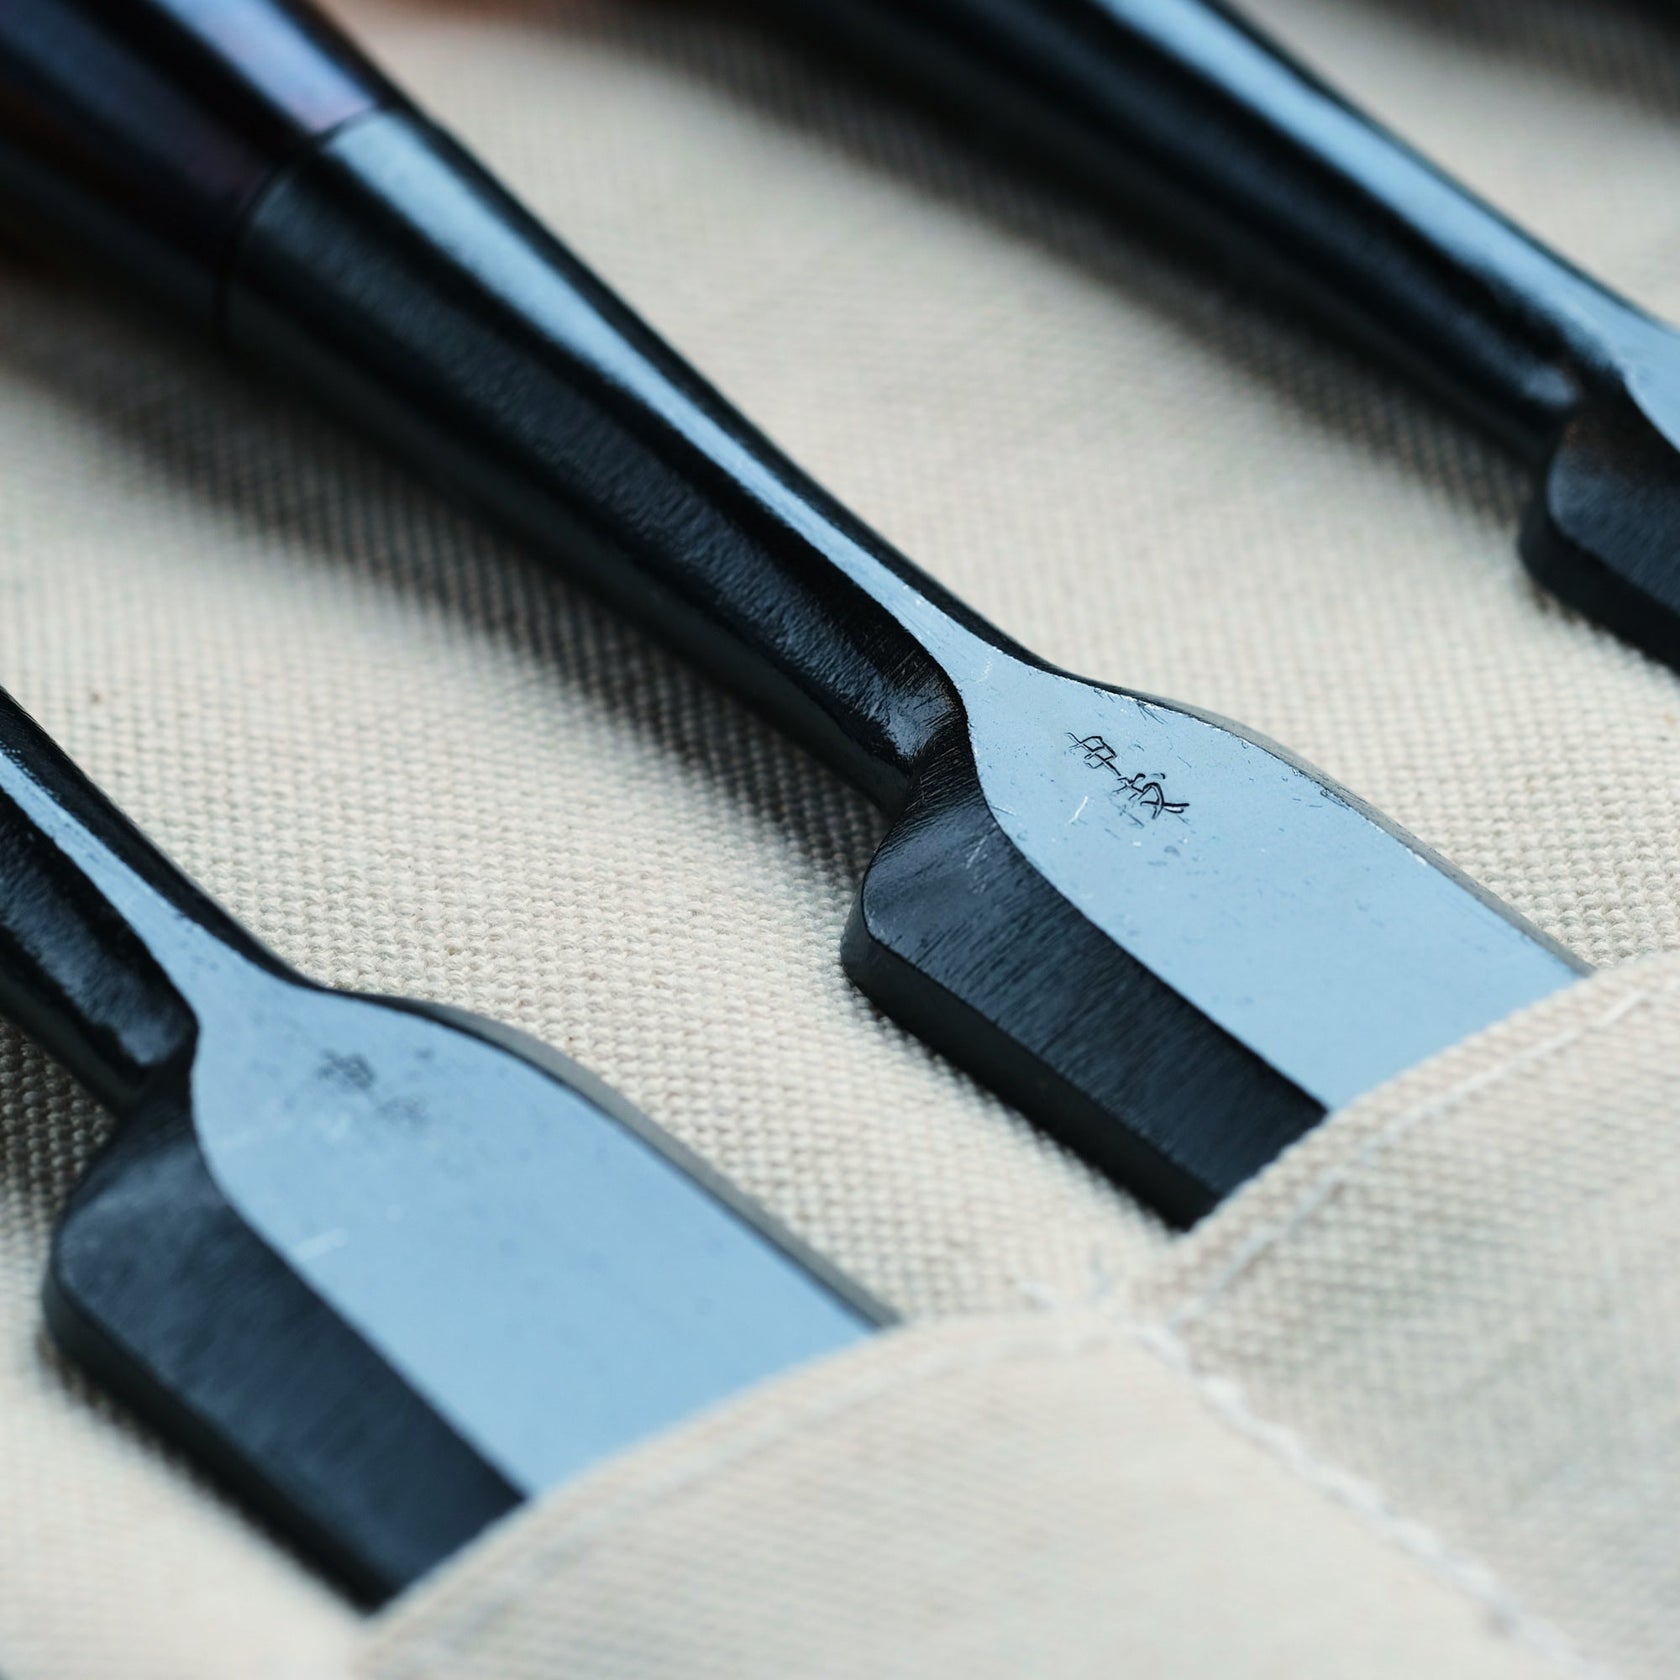
Lapping the back of a Japanese chisel allows it's cutting edge to achieve it's full potential, and be referenced correctly against straight lines when driving or flat surfaces when paring.
The Kanaban

The teachers who we have had the pleasure to host in our workshop have relied on the kanaban to set up both their own and their students' tools, and so of course we do too. Learning to use a kanaban is a great step to improving your experience of all your Japanese tools, whether chisels, planes or kiridashi.
Get the Back Matte

Using the slurry of a #1000 waterstone or white lapping powder will produce a matte finish on the parts of your blade back that are touching the plate.
Any areas that retain the factory polish have not been touched by the lapping process yet, and the process needs to continue until the matte finish extends across the entire cutting edge.
If this takes time, fear not! Teachers in our workshop have been happy for their students to spend hours on this process, so foundational it is to working well with Japanese tools.
Manage Your Water For a Polish

The kanaban can be used to polish the back of your chisel without adding any extra abrasives to the mix - simply working the abrasive that is already present is enough to break it down fine enough to produce an excellent polish.
Managing the amount of water on the plate during this process will take some trial and error. Fear not, as long as your tool remains flat on the plate, no harm can come to it as you learn to manage the finish.